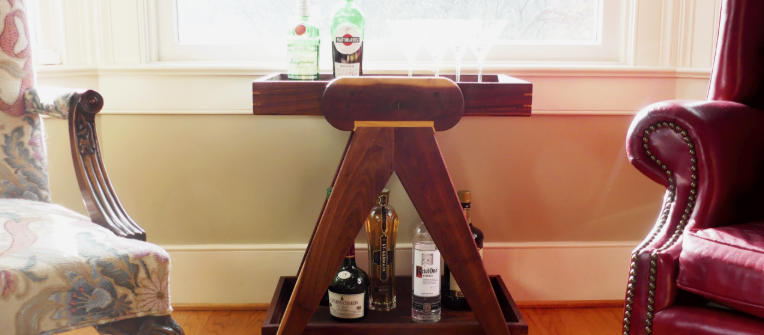
Creating a DIY wooden bar cart is not only a fulfilling project but also a stylish way to enhance your home. As gatherings and casual entertaining become more popular, having a dedicated space for drinks can elevate the experience for both hosts and guests. This project allows you to personalize your bar cart, making it a unique addition to your decor while honing your woodworking skills.
Materials Needed
Before you begin, it’s essential to gather all necessary materials to ensure a smooth building process. Common items include wooden planks (like pine or oak), screws, wood glue, casters for mobility, sandpaper, and finish products such as varnish or stain. Additionally, you’ll need basic tools like a saw, drill, screwdriver, and measuring tape. Having everything ready beforehand will save time and frustration once you start the project.
Building the Structure
The first step involves cutting your wooden pieces to the desired dimensions. Typically, a bar cart consists of two to three shelves and a sturdy frame. Assemble the frame by connecting the side pieces with screws, ensuring it’s level and secure. Once the frame is complete, attach the shelves, allowing for adequate space between each to accommodate bottles, glasses, and accessories. Remember to double-check measurements to guarantee everything looks balanced and functional.
Finishing Touches
After assembling the cart, it’s vital to focus on the finish. Sand the entire structure to remove any rough edges or splinters, creating a smooth surface. Choose a stain or paint that complements your decor, and apply it evenly, allowing it to dry thoroughly. Finally, attach the casters to the bottom for easy mobility. You can also personalize your cart with decorative elements like a chalkboard, hooks for utensils, or even themed decor to reflect your style.
Building your own wooden bar cart not only enhances your interior aesthetics but also adds functionality to your entertaining space. With the right materials and a bit of effort, you can create a piece that’s both useful and a conversation starter. Don’t hesitate to explore new designs and embellishments; let your creativity shine through! Happy building!