Creating a wooden kitchen island can transform your kitchen into a functional and stylish space. Not only does it provide additional prep space, but it can also serve as a gathering place for family and friends. With the right materials and steps, building your own island can be a rewarding project that enhances your home’s value and charm.
Planning Your Design
Before you start building, it’s essential to plan your kitchen island’s design. Consider the size and shape that would best fit your kitchen layout while ensuring ample space for movement. Think about functionalities, such as storage options and the inclusion of a countertop for food preparation or dining. Sketching your design can help visualize the finished product and ensure all necessary features are included.
Gathering Materials and Tools
Once your design is finalized, it’s time to gather materials and tools. Select high-quality hardwood for the frame and countertop, such as maple or oak, known for their durability and aesthetics. Basic tools such as a saw, drill, and sander will be necessary, along with wood screws and brackets for assembly. Make sure to also have safety gear, such as goggles and gloves, to protect yourself during the building process.
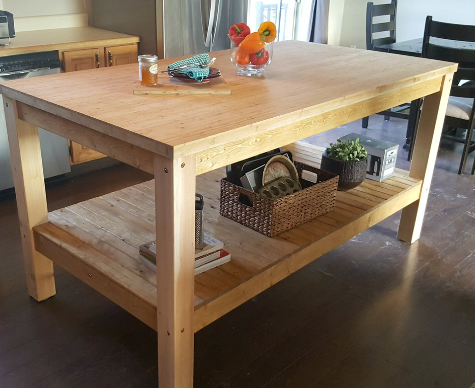
Constructing the Island
With your materials ready, begin constructing the island by building the frame according to your design. Assemble the base first, securing the pieces with screws and brackets to ensure stability. Once the frame is complete, attach your chosen countertop securely. Sand down any rough edges and apply a suitable wood finish for protection and aesthetics. Feel free to add additional elements, such as shelves or hooks, to maximize the island’s functionality.
Now that you’ve learned the essential steps to create a wooden kitchen island, why not take the plunge and start your own project? It’s a fantastic way to enhance your kitchen’s appeal and functionality. Happy building!