Creating a rustic wooden bench not only adds character to your outdoor space but also offers a functional seating option that can enhance your garden’s aesthetic. This project is approachable for beginners and rewarding, providing a sense of accomplishment as you craft a piece that reflects your personal style.
Choosing the Right Materials
To start your rustic wooden bench, selecting the right materials is crucial. Opt for reclaimed wood or pine for an authentic look, often rich with natural imperfections and unique textures. Make sure to source quality planks that are strong and free of extensive damage to ensure durability. Additionally, having the right tools, such as a saw, drill, and sandpaper, will make the construction process smoother.
Designing the Bench
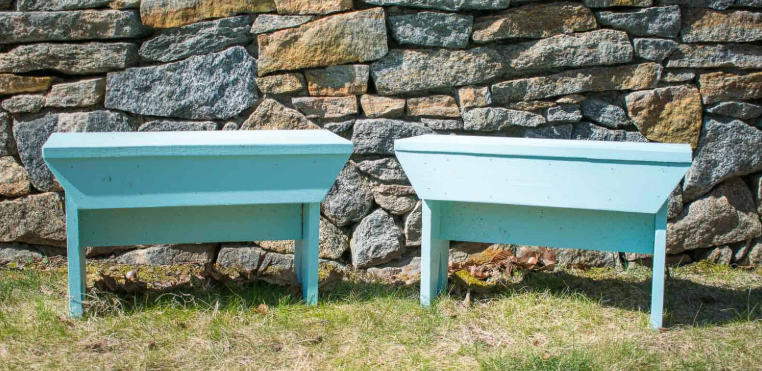
Next, design the bench according to your space and aesthetic preference. A simple design could involve a rectangular top supported by sturdy legs, creating a classic and timeless piece. Sketching your design on paper helps visualize dimensions and proportions and allows for any adjustments before you cut the wood. Consider adding a slight curve or varying the height for enhanced comfort and visual interest.
Assembly and Finishing Touches
Once your materials are cut and your design is finalized, begin assembling the bench. Start by attaching the tabletop to the legs using screws or brackets for stability. Afterward, sand the surfaces to eliminate rough edges and splinters, making it safe and comfortable. Lastly, apply weather-resistant stains or finishes to protect your bench from the elements, ensuring it remains beautiful and functional for years.
In conclusion, building a rustic wooden bench is a rewarding project that not only enhances your outdoor space but also adds a personal touch. Gather your materials, unleash your creativity, and enjoy the process of crafting this charming addition to your home. For more tips and ideas, keep exploring DIY projects that can enrich your living environment!