Creating a wooden accent table is not only a rewarding DIY project but also a great way to personalize your living space. This piece of furniture can serve as a functional and decorative element in any room, allowing you to showcase your style while providing practical usage. Whether you’re a seasoned craftsman or a beginner, this guide will help you navigate the steps to make your own unique accent table.
Choosing the Right Materials
The foundation of a well-crafted accent table begins with selecting the appropriate wood. Popular choices include oak, maple, or pine, each offering distinct aesthetics and durability. Consider the design and finish you want to achieve; hardwoods might be ideal for a classic look, while softer woods can be easier to work with. Don’t forget to gather necessary supplies such as wood glue, screws, and sandpaper for a polished finish.
Designing Your Accent Table
Before starting the construction, it’s essential to plan your design thoroughly. Sketch out a blueprint, considering dimensions that fit your space and functionality. Think about the style you want to achieve—whether modern, rustic, or vintage—and incorporate elements like legs, tabletops, and storage options. Many online templates can inspire your design, helping you visualize the final product and streamline the building process.
Building Your Accent Table
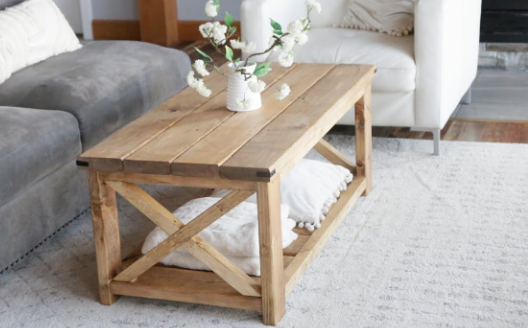
Once you have your materials and design, it’s time to begin the construction. Start by cutting the wood pieces according to your measurements, ensuring precision for a stable structure. Assemble the parts using wood glue and screws, following your blueprint carefully. After the table is put together, sand the surfaces to remove any rough edges and prepare for staining or painting. Applying a finish not only enhances the wood’s appearance but also protects it from wear.
Now that you have a customized wooden accent table, it’s time to place it in your home and enjoy the fruit of your labor. This project is a fantastic way to add character to your decor while honing your woodworking skills. Share your creation with friends and family or consider tackling another furniture project to further enhance your space!