Building your own wooden wine rack can add a personal touch to your home while also providing a practical solution for wine storage. With the right materials and a bit of creativity, you can create a functional and aesthetically pleasing piece that reflects your style. This project is not only rewarding but can also enhance your entertaining space and showcase your wine collection beautifully.
Gathering Materials and Tools
Before diving into your project, it’s important to gather all necessary materials and tools to ensure a smooth building process. You will need high-quality wood, such as pine or oak, which is durable yet manageable for DIY projects. Essential tools include a saw (hand or power), a drill, sandpaper, and wood glue. Consider also having screws on hand for additional strength and stability in your wine rack.
Designing Your Wine Rack
The design of your wine rack will significantly influence its functionality and appearance. Take time to sketch your desired layout; common options include horizontal storage for bottles or vertical slots. Ensure to account for the number of bottles you wish to store, allowing additional space for future purchases. If space is limited, a wall-mounted rack could be an effective design choice, utilizing vertical space efficiently.
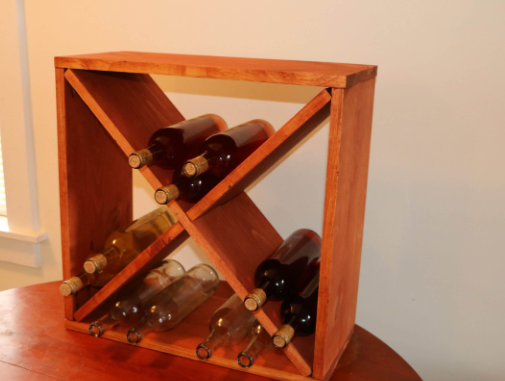
Building and Finishing Touches
Once your materials are ready and your design is established, it’s time to start building. Cut the wood to size according to your design, ensuring all edges are smooth for safety and aesthetics. Assemble the pieces securely using wood glue and screws, making sure everything is level and stable. After construction, finishing touches like sanding and applying a wood stain or sealant will provide protection and enhance the natural beauty of the wood.
Creating your own wooden wine rack is not only a fun project but also a functional addition to your home. With a bit of effort and creativity, you can design something unique that complements your space. Consider sharing your finished project with friends or family, and inspire them to tackle their DIY endeavors! Happy building!