Building a wooden step stool is not only a practical project for enhancing your home’s functionality but also a rewarding experience that can boost your woodworking skills. Whether you need extra height for reaching cabinets or want a stylish addition to your decor, a custom stool is a perfect solution. This guide will walk you through the essential steps and considerations for crafting a sturdy and attractive wooden step stool.
Gathering Materials and Tools
Before you begin, it’s crucial to assemble all necessary materials and tools. You will need durable wood, such as pine or oak, measuring tape, a saw, sandpaper, screws, and wood glue. Additionally, having clamps, a drill, a square, and a paint or stain (if desired) will enhance the quality of your final product. Ensuring you have everything on hand will streamline the building process and keep your workflow uninterrupted.
Designing Your Stool
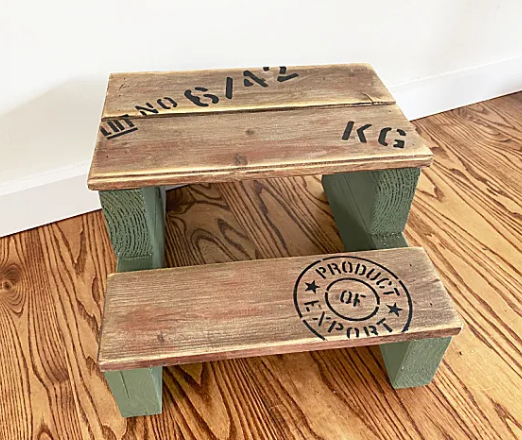
When designing your stool, consider its height, width, and number of steps based on your needs. A typical design features two steps and stands approximately 18 to 24 inches tall. Sketch your design, ensuring it includes dimensions for all parts: the top step, the lower step, and the side supports. This blueprint will be your roadmap throughout the building process, making it easier to visualize the final product while measuring and cutting your materials.
Constructing the Stool
Start by cutting your wood pieces according to the dimensions from your design. Assemble the side supports first, attaching the steps securely using wood glue and screws for added stability. Make sure to pre-drill holes to prevent the wood from splitting. Once assembled, sand down any rough edges for a smooth finish. If you choose to paint or stain the stool, apply it after the initial assembly for an even coat. Finally, allow everything to dry thoroughly before using your new step stool.
Building a wooden step stool is a fulfilling project that combines creativity and practical skills. As you take on this DIY endeavor, remember to approach it with patience and care. Enjoy the process, and don’t hesitate to explore more woodworking projects to expand your craft!