Creating a DIY wooden wall shelf is not only a practical solution for organization but also an excellent way to add personal style to your living space. This project allows you to express your creativity while providing a functional storage solution that enhances any room. Whether you’re looking to declutter or showcase decorative items, building your own shelf can be a rewarding experience.
Materials and Tools Needed
Before starting your project, gather all the necessary materials and tools. You’ll need wooden boards as your main shelving material, which can be pine, oak, or reclaimed wood depending on your preference. Essential tools include a saw, drill, level, measuring tape, and brackets for support. Don’t forget sandpaper and wood stain or paint to finish your shelf and enhance its appearance.
Measuring and Cutting the Wood
Begin by choosing the location for your shelf and measuring the desired dimensions. Use a measuring tape to mark the wood, ensuring accurate cuts. If you’re cutting multiple pieces, double-check your measurements to maintain consistency. After marking, carefully use the saw to cut the wood, and then sand the edges to create a smooth finish, avoiding any splinters.
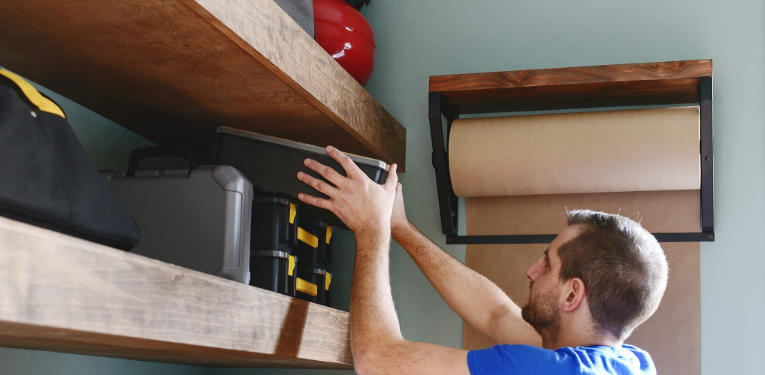
Assembly and Installation
Once your pieces are ready, it’s time to assemble the shelf. If you’re using brackets, position them on the wall where you want the shelf to be, ensuring they are level. Secure the brackets with anchors or screws, depending on your wall type. After the brackets are fixed, place your wooden board on top, adjusting it until it is perfectly level. Finally, you can finish the shelf with paint or stain to match your home decor.
Taking on a DIY wooden wall shelf project can invigorate your living space while offering a sense of accomplishment. Embrace your creativity and enjoy the process as you enhance your home décor. Don’t hesitate to explore more about woodworking and DIY projects to expand your skills!