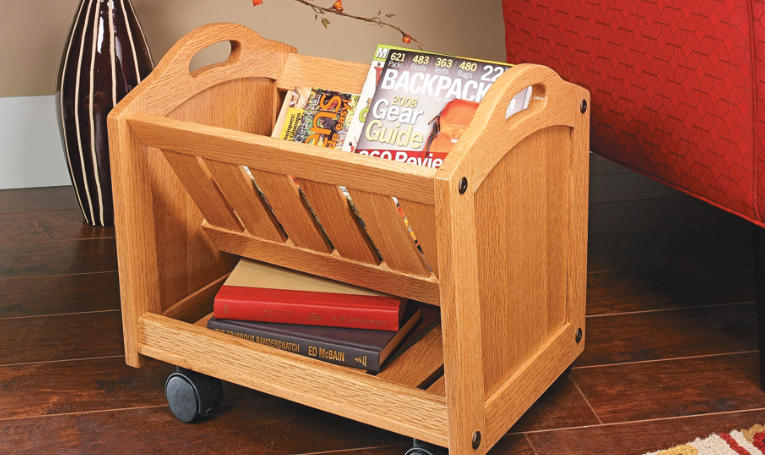
Creating a DIY wooden magazine rack is a fulfilling project that enhances both the functionality and aesthetics of your home. Not only does it provide a stylish solution for organizing magazines, but crafting it yourself adds a personal touch to your space. This guide will walk you through the essential steps and considerations for building your custom rack.
Materials Needed
Before you start your project, gather all necessary materials. You will typically need wooden boards—pine is a popular choice due to its affordability and ease of use. Other items include wood glue, screws, sandpaper, wood stain or paint, and a drill. If you want to incorporate a modern look, consider metal joints or brackets to add stability and style.
Basic Construction Steps
The first step in building your wooden magazine rack is to cut the wood to the desired dimensions. Standard dimensions for a simple rack might be around 24 inches wide and 12 inches high. Assemble the rack by attaching the side panels to the bottom using wood glue and screws. It’s beneficial to pre-drill holes for screws to prevent the wood from splitting. Once assembled, sand all surfaces to create a smooth finish before applying your chosen stain or paint.
Personalization Tips
Your magazine rack doesn’t have to be just functional; it can be a unique part of your decor. Feel free to personalize it with different paint colors, patterns, or even carved designs. Adding dividers can help organize magazines by genre or size, enhancing usability. Additionally, consider placing the rack in a prominent location, like your living room or study, to showcase your craftsmanship and attract compliments from guests.
Crafting a DIY wooden magazine rack not only declutters your space but also allows you to express your creativity. Dive into this rewarding project and enjoy the satisfaction of creating something uniquely yours. Happy building!