Creating an organized and efficient living space is crucial, especially in small areas where every inch counts. A DIY wooden drawer unit can be a solution that not only enhances storage but also adds a touch of personalized design to your home. This project allows you to utilize available space effectively while embracing creativity and craftsmanship.
Materials Needed
Before you start building your wooden drawer unit, gather the necessary materials. You’ll need plywood sheets for the construction of the unit, wood glue, screws, and drawer slides. Don’t forget tools such as a saw, drill, measuring tape, and sandpaper. Additionally, choose a stain or paint that complements your decor, as it will add a final touch to your piece.
Building the Drawer Unit
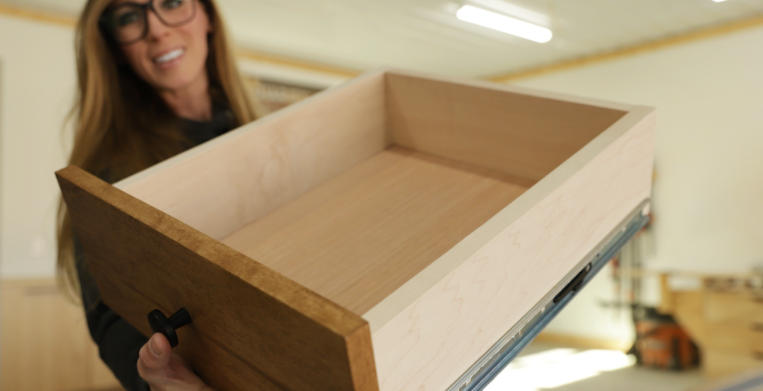
Begin by measuring the space where you plan to place the drawer unit. Cut your plywood to the appropriate dimensions, including the sides, top, bottom, and drawer compartments. Assemble the outer frame by securing the pieces with wood glue and screws. Once the frame is complete, install the drawer slides before constructing the drawers themselves, ensuring they fit snugly within the unit for smooth operation.
Finishing Touches
After the assembly, it’s time for the finishing touches. Sand all surfaces to create a smooth finish, which will also prepare the wood for staining or painting. Choose a finish that aligns with your style; a lighter stain can make a space feel airy, while a darker finish adds warmth. Finally, add drawer pulls or handles that match the overall aesthetic of your home, enhancing both functionality and visual appeal.
Embracing DIY projects not only fosters creativity but also allows for customized solutions tailored to your living space. Dive into this project to create a practical and stylish wooden drawer unit that brings order to your home. Start your journey today and discover the joy of building something uniquely yours!