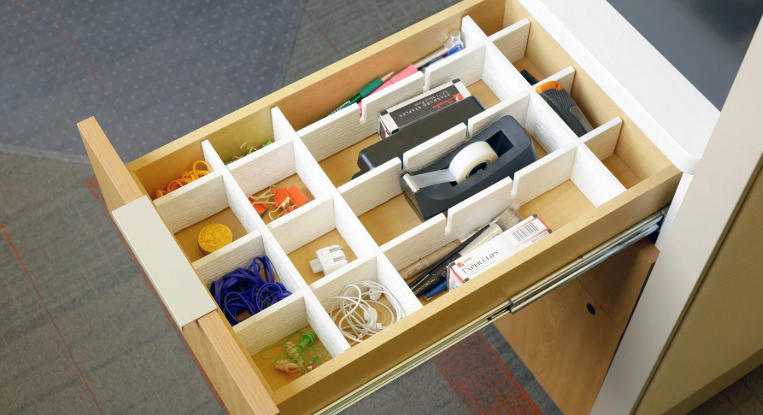
Creating your own wooden drawer dividers can significantly enhance the organization and efficiency of your space. Not only do they maximize storage potential, but they also add a touch of craftsmanship to your home. In this tutorial, you’ll discover straightforward steps to build customizable dividers that fit perfectly within your drawers.
Materials Needed
Before you begin, gather the necessary materials to ensure a smooth process. You’ll need wooden boards, such as pine or birch, a saw for cutting, screws or wood glue, a measuring tape, and sandpaper. Additionally, having a drill handy will help secure your dividers in place. Choose a finish if you’d like to add a protective coat or stain for a polished appearance.
Measuring Your Drawers
Accurate measurements are crucial for a successful divider installation. Start by measuring the width, depth, and height of your drawer. It’s best to sketch a quick layout to visualize where the dividers will fit. Depending on your organizational needs, decide how many sections you want and mark these measurements on your wooden boards, ensuring you account for the thickness of the wood used.
Cutting and Assembling the Dividers
Using your saw, cut the wooden boards according to your marked measurements. Take your time to ensure clean, straight cuts for a professional finish. Once cut, softly sand the edges to avoid splinters. Assemble the dividers either by screwing them into the sides of the drawer or using wood glue for a cleaner look. Allow any adhesive to cure fully before placing items back in your drawers for optimal sturdiness.
With a few simple tools and materials, you can transform your cluttered drawers into neatly organized spaces. Don’t hesitate to customize the size and arrangement of your dividers to suit your unique needs. Enjoy the satisfaction of your handiwork and how much easier it is to find what you need!