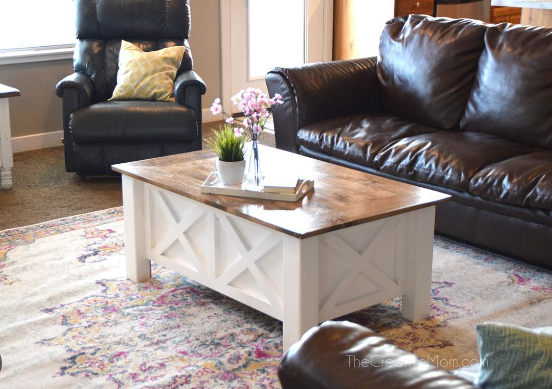
Creating a DIY wooden coffee table with storage not only enhances the aesthetic of your living space but also provides practical functionality. With the right materials and some basic woodworking skills, you can craft a unique piece that reflects your personal style while adding organization to your home. This project is perfect for both beginners and seasoned DIY enthusiasts looking to improve their skills.
Materials Needed
Before diving into your project, gather all necessary materials. You’ll need high-quality wood (such as pine or oak), screws, wood glue, sandpaper, wood stain or paint, and finishing sealant. Additionally, tools like a saw, drill, and measuring tape will come in handy. Having everything ready will streamline the process, making your DIY experience both enjoyable and efficient.
Designing Your Table
Consider the size and style of your coffee table to ensure it fits well in your space. Sketch out a design that includes the table top and storage compartments, such as drawers or open shelves. Think about the functionality you need: do you want hidden storage for magazines and games, or open shelving for easy access? Tailoring the design to your needs will enhance both its looks and usability.
Building Process
Start by cutting your wood pieces according to your design specifications. Assemble the frame first, ensuring that everything is square and sturdy. Attach the top securely, then incorporate your storage components, ensuring they open smoothly. Sand the entire table to achieve a smooth finish before applying your choice of stain or paint. Finally, seal the surface to protect it from wear and tear, ensuring your table lasts for years to come.
With just a little effort and creativity, you can create a stunning DIY wooden coffee table that offers both beauty and functionality. Take your time to enjoy each step and personalize your piece to make it one-of-a-kind. Dive into this project and create a space you’ll cherish!