Creating a DIY wooden bedside organizer is not only a practical solution for decluttering your space but also an opportunity to express your creativity. By crafting your own organizer, you can customize it to fit your decor, needs, and preferences, transforming your bedside area into an efficient and aesthetically pleasing space. This project can be a rewarding way to enhance both functionality and style in your home.
Materials Needed
To build a wooden bedside organizer, you’ll need a selection of materials, including plywood or solid wood for added durability, wood glue, screws, and sandpaper. You should also gather tools such as a saw, drill, and measuring tape to ensure precision. Finishing materials like wood stain or paint can help you achieve a look that complements your bedroom. Collecting everything beforehand streamlines the building process and saves you time.
Designing Your Organizer
Before you start building, sketch out a design to visualize your organizer’s layout. Consider the items you want to store, such as books, glasses, or charging devices, and tailor the dimensions accordingly. You may want to incorporate compartments or slots for different objects, ensuring easy access without the clutter. Remember, balancing aesthetics with functionality will yield the best results for your space.
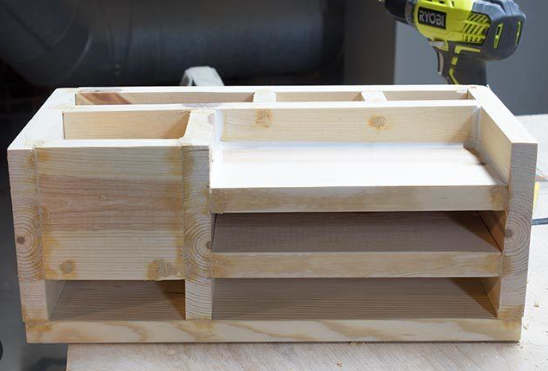
Step-by-Step Building Process
Start by cutting your wood according to your design specifications, ensuring your edges are smooth. Next, assemble the pieces using wood glue and screws, allowing adequate drying time. Sand the entire structure to eliminate rough spots, preparing it for finishing touches. Finally, apply your chosen stain or paint and let it fully dry before placing it next to your bed, ready to hold your essentials in style.
Creating a DIY wooden bedside organizer not only declutters your space but also adds a personal touch to your bedroom. It’s a fulfilling project that combines creativity with functionality. So gather your materials and get started on this rewarding endeavor!