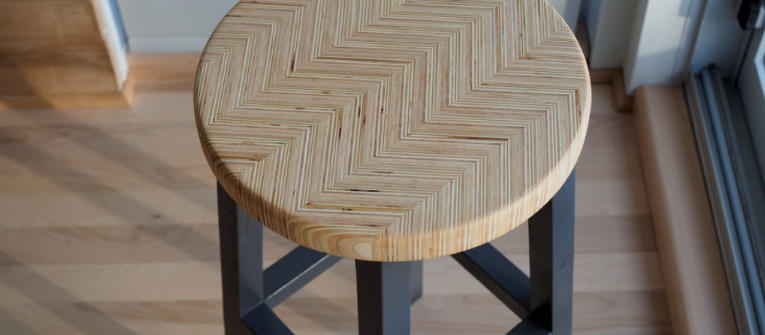
Creating your own wooden bar stools can be a rewarding and enjoyable project that enhances your home decor while offering a personalized touch. DIY projects not only save money but also allow you to customize designs to fit your style. This wooden bar stool tutorial will guide you through the step-by-step process of building sturdy, stylish pieces for your kitchen or home bar.
Materials and Tools You’ll Need
Before diving into the construction, gather the necessary materials and tools. You’ll need high-quality wood, such as pine or oak, screws, wood glue, and finishing supplies like sandpaper and stain or paint. Essential tools include a saw (circular or miter), a drill, a measuring tape, and a square. Having everything prepared ensures a smoother workflow and a more enjoyable building experience.
Step-by-Step Construction Process
Begin by measuring and cutting your wood to the desired dimensions for the stool’s seat, legs, and support beams. The typical height for a bar stool is around 30 inches, so adjust accordingly for your space. Once all pieces are cut, start assembling the legs using wood glue and screws; ensure they are square for stability. Attach the seat to the legs, reinforcing the structure with support beams to enhance durability. Sand down any rough edges and apply your chosen stain or paint for a polished finish.
Finishing Touches and Personalization
After your stool is assembled and painted, let it dry completely before using it. Consider adding a cushion on top for added comfort or personalizing it further with stencils or carved designs to reflect your unique style. Don’t forget to inspect your stool for stability and make any adjustments needed. With a little creativity, your DIY wooden bar stools can become a standout feature in your home.
This DIY project not only gives you functional furniture but also serves as a great opportunity to unleash your creativity. Grab your materials, follow the steps, and soon you’ll have beautiful, custom wooden bar stools to enjoy. Happy building!