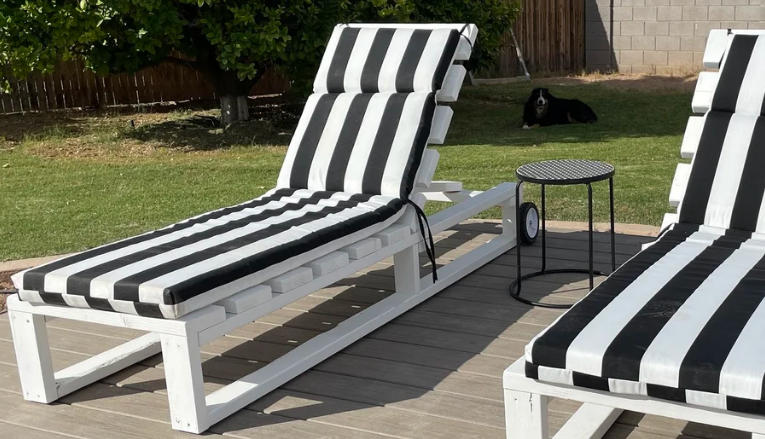
Creating a wooden outdoor lounge chair is not only a rewarding woodworking project but also a practical addition to your outdoor space. This chair allows for relaxation and comfort, making it perfect for enjoying sunny days or cozy evenings. With the right materials and instructions, anyone can craft a beautiful piece of furniture that enhances their backyard or patio.
Gathering Materials and Tools
Before beginning the project, gather all necessary materials and tools. You’ll need sturdy wood, such as cedar or pine, that can withstand outdoor conditions. A handsaw or circular saw, drill, screws, sandpaper, and wood finish are essential tools for this project. Having a workspace set up where you can easily manage and cut your wood will ensure a smoother building process.
Building the Chair Frame
The first step is to build the frame of the lounge chair. Cut the wood into the required lengths for the seat, backrest, and legs. Assemble the pieces using screws to ensure a sturdy structure, making sure to pre-drill holes to avoid splitting the wood. Once the frame is assembled, sand all edges to provide a smooth finish and prevent splinters, enhancing comfort and safety.
Finishing Touches and Maintenance
After constructing the frame, it’s time to apply a wood finish to protect the chair from the elements. This not only enhances the appearance but also prolongs the life of the furniture. Choose a waterproof sealant or outdoor varnish for durability. For ongoing maintenance, periodically check for any signs of wear, and clean the chair regularly to keep it looking its best.
Building a wooden outdoor lounge chair is a fulfilling project that offers both style and utility for your outdoor space. Once completed, you’ll have a cozy spot to unwind and enjoy your surroundings. Enjoy the process, and don’t hesitate to personalize your chair with colors or additional features to make it uniquely yours!