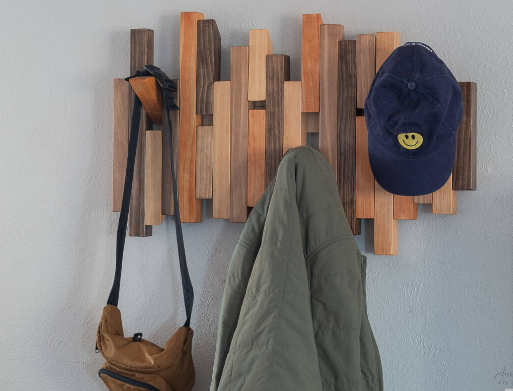
Creating a wooden wall coat rack is not only a practical solution for organizing your space but also an opportunity to add a touch of personal craftsmanship to your home. This project can be tailored to fit any style, making it an excellent choice for both beginners and seasoned woodworkers. With just a few materials and some creativity, you’ll have a functional piece that enhances your decor while keeping your entryway tidy.
Materials Needed
To start your wooden wall coat rack project, gather the essential materials. You’ll need a sturdy piece of wood, such as pine or oak, cut to your preferred length; wall hooks for hanging coats; sandpaper to smooth the surface; and wood finish or paint for aesthetics. Additionally, have a level, drill, screws, and wall anchors on hand to ensure proper installation. Choosing quality materials will enhance durability and appearance.
Design and Assembly
Before assembling, design your coat rack to suit your style and space. Sketch a simple plan considering the number of hooks and the overall length. After cutting the wood to size, sand the edges and surface to remove any rough spots. If you want to paint or stain the wood, apply your chosen finish before attaching the hooks; this ensures a clean and professional look. Once the finish is dry, mark the positions for the hooks evenly across the wood and secure them with screws.
Installation Tips
Proper installation is crucial for both safety and functionality. Use a level to ensure your coat rack is straight before marking the wall where it will be mounted. If you’re mounting on drywall, be sure to use wall anchors to support heavier coats. Drill holes where needed and secure the coat rack to the wall with the appropriate screws or anchors. Once installed, give it a gentle pull to check its sturdiness; a well-mounted coat rack should be secure and ready for use.
Now that you have your wooden wall coat rack completed, enjoy the clutter-free entryway it provides. This project not only adds organization but also showcases your DIY skills, making your space feel more homely. Consider experimenting with different designs or finishes for your next project; there’s always more to explore in the world of woodworking!