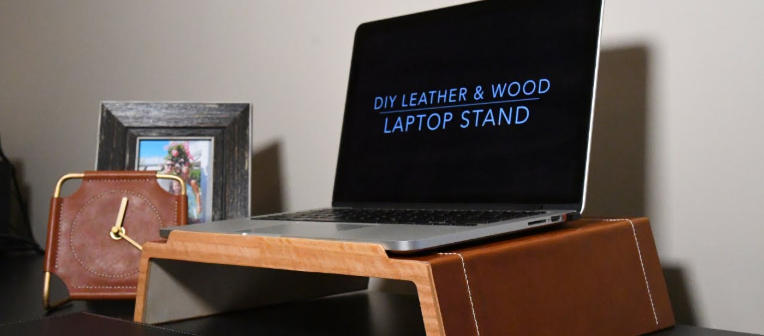
Creating a small wooden laptop table is not only a practical project but also a great way to enhance your workspace. With more people working from home or using laptops in various settings, having a dedicated, portable surface can make a significant difference in comfort and productivity. This guide will take you through the essential steps to build your own stylish and functional laptop table.
Materials and Tools Needed
Before starting your project, gather the necessary materials and tools. You’ll need wood planks (such as pine or plywood), wood screws, sandpaper, and wood finish or paint for aesthetics. Tools like a saw, drill, measuring tape, and a square will also be essential for accurate cuts and assembly. Investing in quality materials will ensure your table is sturdy and lasts for years to come.
Designing Your Table
Carefully planning the design of your laptop table is crucial for functionality and style. Consider the size of your laptop and any additional space you may need for a mouse or other accessories. A typical design features a tabletop dimension of around 24×18 inches, which provides ample space while remaining compact. Additionally, you may want to incorporate features like a shelf for storing documents or a cutout for cable management.
Construction Steps
Begin by cutting your wood to the desired dimensions based on your design. Sand down all edges and surfaces to create a smooth finish, preventing splinters and ensuring comfort. Assemble the table by attaching the legs to the underside of the tabletop using wood screws; ensure they are evenly positioned for stability. If you’re incorporating a shelf, secure it between the legs. Finally, apply wood finish or paint to enhance the appearance and protect the wood from wear and tear.
Once completed, place your new laptop table in your preferred workspace and enjoy the benefits of having a personalized surface. Don’t hesitate to get creative with your design, adding personal touches that reflect your style. Happy building!