Creating a DIY wooden coat rack for your entryway can significantly enhance the organization and aesthetic of your space. Not only does it add a personal touch to your home, but it also provides a practical solution for managing coats, bags, and accessories. In this article, we will explore the materials, design ideas, and step-by-step instructions to create an inviting entryway feature.
Choosing the Right Materials
When crafting a wooden coat rack, the choice of materials is crucial for durability and appearance. Common wood types include pine, oak, and cedar, each offering a different look and level of sturdiness. Additionally, you’ll need hooks, which can be made of metal or wood, depending on your preference. Consider accentuating the wood with finishes like stain or paint to match your existing decor.
Design Ideas for Your Coat Rack
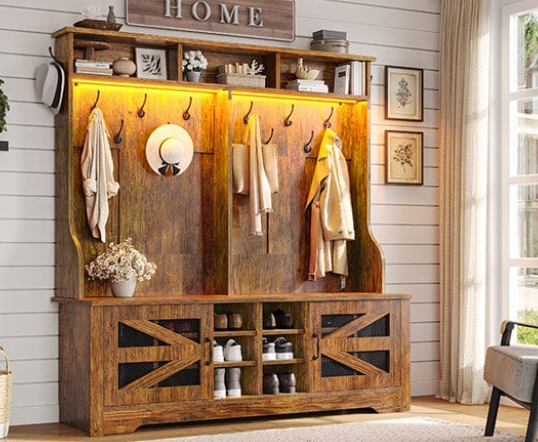
Before starting your project, think about the design that best fits your style and space. A minimalist coat rack can feature a simple horizontal plank with spaced-out hooks, providing a functional yet elegant look. For a rustic feel, consider using reclaimed wood for a more textured finish. If you’re looking for something unique, experiment by adding shelves above the hooks for additional storage of baskets or decorative items.
Step-by-Step Assembly Instructions
To assemble your coat rack, start by measuring and cutting the wood to your desired length. Sand the edges and surfaces to ensure a smooth finish. Next, attach the hooks evenly along the wooden plank using screws, ensuring they are secure. Lastly, mount the coat rack on the wall using brackets or anchors, and remember to check for level to achieve a polished look. Personalize your creation by adding decorative elements or finishes to match your home’s vibe.
Now that you have the tools and ideas, it’s time to bring your vision to life. A DIY wooden coat rack not only serves a practical purpose but also showcases your creativity and style. Gather your materials and start crafting your unique entryway piece today!