Creating your own wooden nightstand not only enhances your home decor but also brings a sense of accomplishment. For beginners, this DIY project offers a chance to learn basic woodworking skills while crafting a functional piece of furniture. With just a few tools and materials, you can create a stylish nightstand that meets your personal style and needs.
Materials and Tools Needed
Before starting your project, gather all necessary materials and tools to ensure a smooth crafting experience. You will need plywood or solid wood boards, wood screws, wood glue, sandpaper, and wood finish or paint for a polished look. In terms of tools, a saw, drill, measuring tape, and level are essential. Having everything on hand will help you stay organized and focused as you work.
Step-by-Step Construction Guide
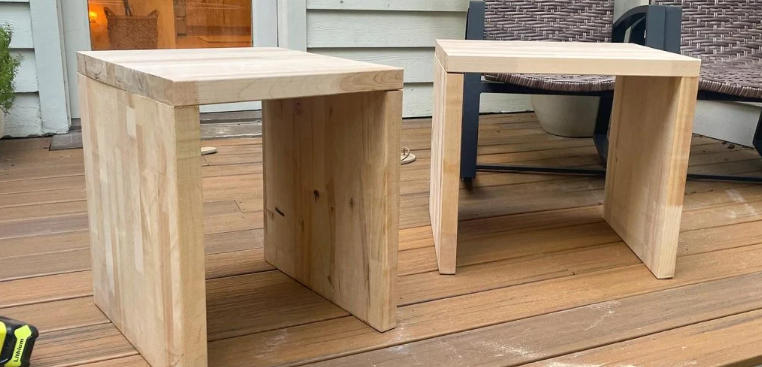
Begin by measuring and cutting the wood according to your desired dimensions for the nightstand. A standard size might be around 24 inches high, 18 inches wide, and 16 inches deep, but feel free to customize based on your space. Assemble the top, sides, and bottom shelf using wood screws and glue, ensuring everything is level and secured. Once the frame is complete, add any additional features, such as drawers or decorative elements, to enhance functionality and style.
Finishing Touches
Once the structure is complete, it’s time to sand the surfaces thoroughly to remove any rough edges. Apply a wood finish or paint to protect the wood and give your nightstand a beautiful appearance. Consider using a water-based polycrylic for ease of application and quick drying. After allowing sufficient drying time, your nightstand is ready to use, adding a personal touch to your bedroom decor.
Creating your own wooden nightstand can be a rewarding project that boosts your confidence in DIY tasks. Embrace the opportunity to learn new skills and personalize your space. Start your woodworking journey today and turn your vision into reality!